As you may know, sustainability is one of the most important commitments in San Saru. We believe that protecting the planet is everyone's responsibility and that is why for many years now we have been contributing by using beautiful and sustainable packaging to send our jewels: our boxes are made mainly from Kraft board and wood from sustainable plantations. In San Saru Soul you will discover in detail our commitment, philosophy, manifesto... We encourage you to visit the"San Saru Soul" section, where you can get to know us a little more!
Our packaging is not only cute and sustainable, but also reusable. On this blog we give you seven ideas of how to use it. Welcome to the “Do It Yourself for recycling San Saru’s packaging”.
DIY Jewellery Case
We are sure that you have already seen us creating a jewellery case with our special boxes.. You will need at least four San Saru boxes, glue, scissors, cutter and a linen cord. If you don’t remember how to make it, don’t worry! Here you have the video where we explain the process step by step.
DIY Magnet
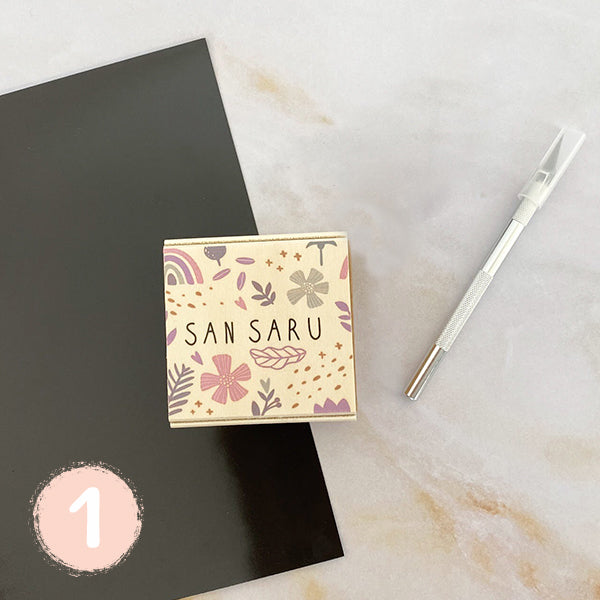
Let’s go with the second idea: un a beautiful and original magnet,, perfect to decorate your fridge! To make it you will need a San Saru box, a magnet and a cutter.
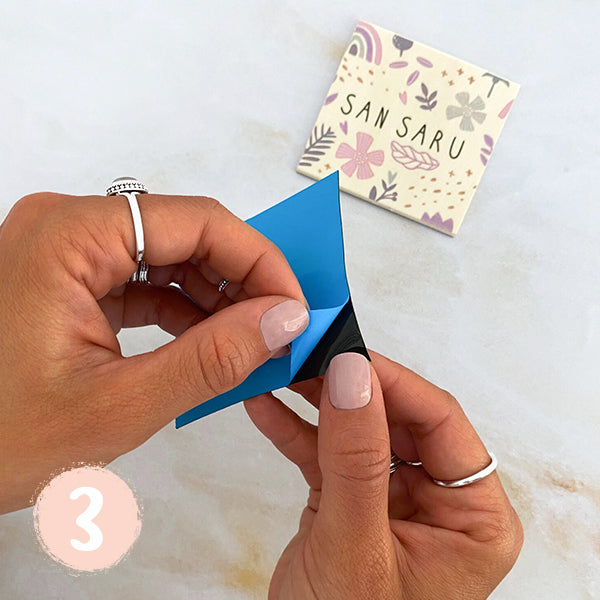
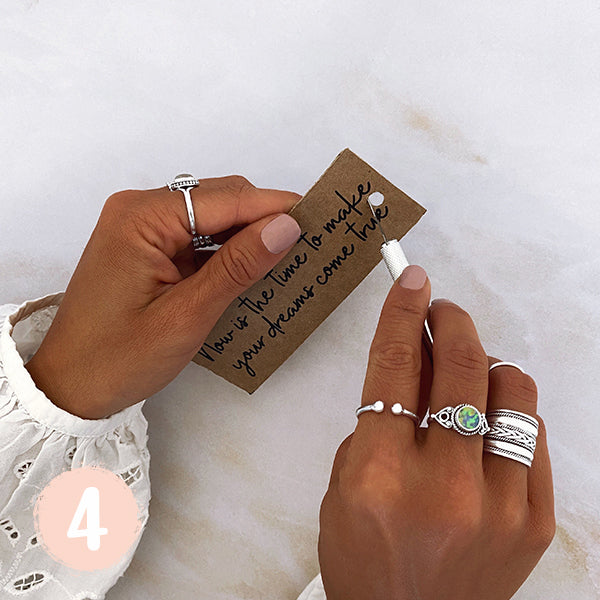
The first step is to separate the cardboard cover and use the cutter to cut the part of the drawing that you want to use as a magnet. Once you cut it, you just have to glue the magnet on the back of the drawing.
Now it is ready to show off in the fridge!


DIY Coasters
The third idea we propose is a coaster. It is fast to make and perfect to protect the table and to decorate it at the same time. You will need a San Saru box and a cutter.
You just have to separate the cover from the box and use the cutter to cut the part of the drawing that you want to use as a coaster. As easy as that!


DIY Pot
If you are a plant lover, we encourage you to make a cute pot.
You will need 4 San Saru boxes, one cutter, glue, stones for decoration and the plant that you like the most. We recommend an artificial cactus (like the one we use in the video) but you can use a real one if you waterproof the pot.
The first step is to separate the four covers and to cut the four pieces that have a drawing with the cutter. You also have to keep one extra side of each box without a drawing to make the base of the pot.
The next step is to glue these four parts together like a cube. Once they are glued, you can put the plant inside. If you want to put a real plant, first you will have to add a special plastic bag for plants to waterproof the pot.
Finally, you just have to add the decorative stones on the top to cover the sand and to make it look ever better.


DIY Bookmark
For those who love reading, you will love this idea! We propose a bookmark, so you don’t get lost among the pages of your exciting novels.
This time you will need the cardboard shipping box (not the little one where the jewels were), a string, a pencil, a cutter and a ruler.
The first step is to mark with a ruler and a pencil the text from the cardboard box (you will see that it has a rectangular shape, perfect for a bookmark). With the cutter, cut out the part you have marked. Next, make a hole in the top, so you can thread the string through it. It will look so cute!


DIY Flyer
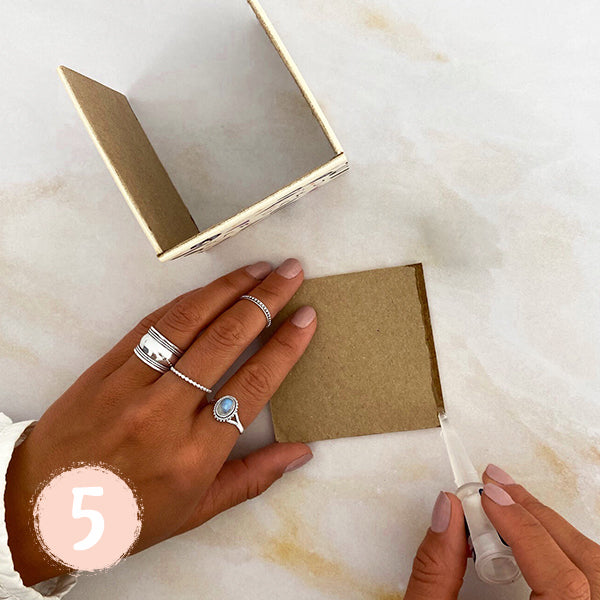
As you may know, in every San Saru order there is a flyer on it. This flyer has a special message printed on the back, which we in San Saru support and live to the fullest. That is why we encourage you to create an inspirational frame with this manifesto to remind you to dream big!
To do it, you will need a 15x20 photo frame and the flyer. The process is super simple: you just have to dismantle it and put a flyer on it so the manifesto is visible. That 's it!


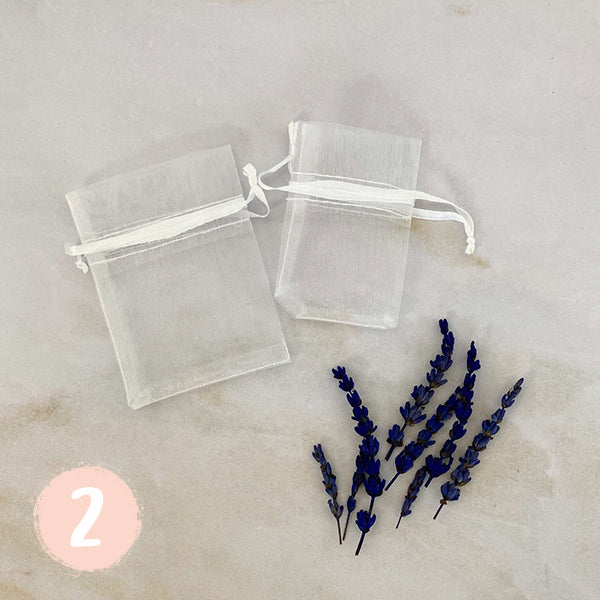
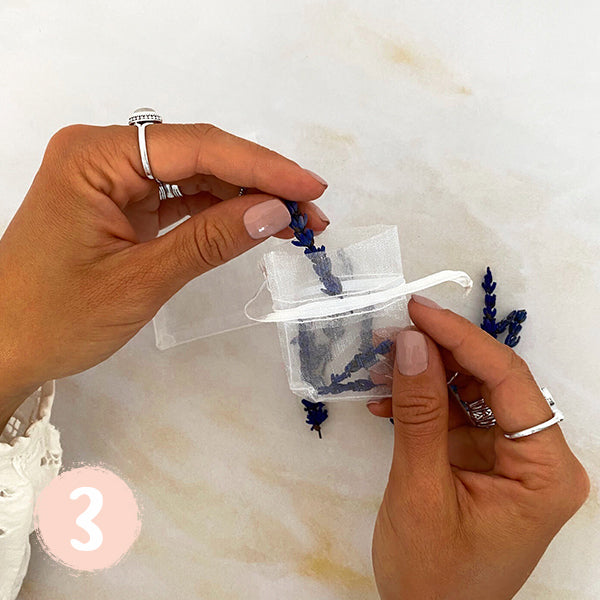
DIY Organza bags
Finally, here is an idea to perfume your closets and clothes naturally. On every order that you receive, the jewellery comes protected inside a transparent bag. This little bag is perfect to use it as a scented pouch.
You will only need dry lavender to fill the bag once the jewellery is out of it. You can put the little bag full of lavender on a shoe rack, next to your underwear or just all over the closet.


Here you have a video where you can see in detail how to create each idea. We encourage you to give a second life to San Saru’s packaging, so we can help the planet together.
We look forward to seeing your creations!