CREATE YOUR JEWELRY PRINT WITH SILICONE
Before you start creating your jewel from the prints with soul collection, it is important that you read all the steps below. If you have any doubts, ask us by email or call us to help you, because you are going to create a unique jewel that cannot be modified.
Select the jewel you are going to create:
CREATE THE PRINT RING STEP-BY-STEP USING SILICONE
If your idea is to engrave a delicate area on the jewelry, you must do it with the help of silicone, because you will be able to create molds of sensitive areas and engrave your designs in wax, turning them into unique jewelry.
Before creating your jewelry, please read the following instructions. It is necessary that you know and understand all the steps before you begin.
To start with the process, you must have with you:
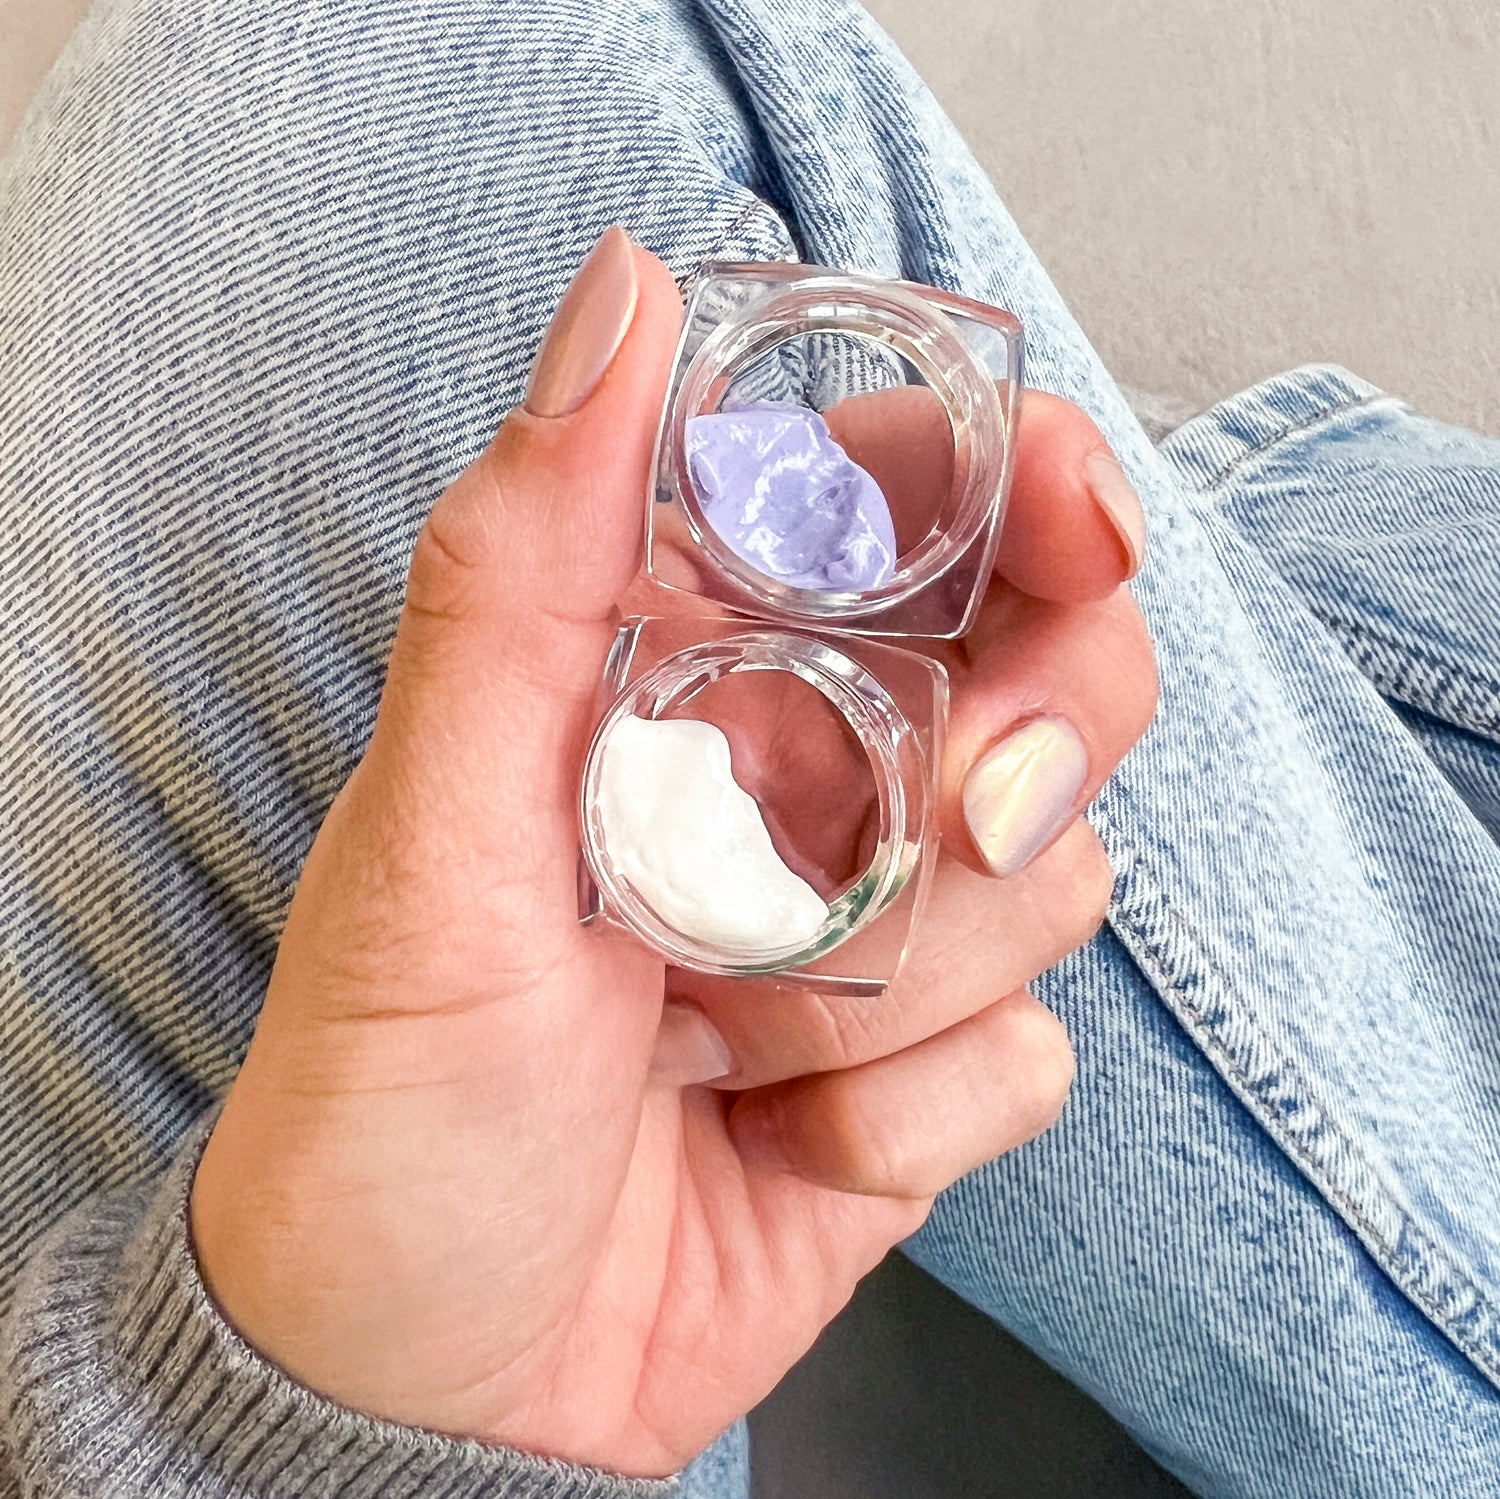
Pack Silicone sensitive area, which includes: Two silicone pots; one lilac and one white. Approximately enough to make 3-4 molds.
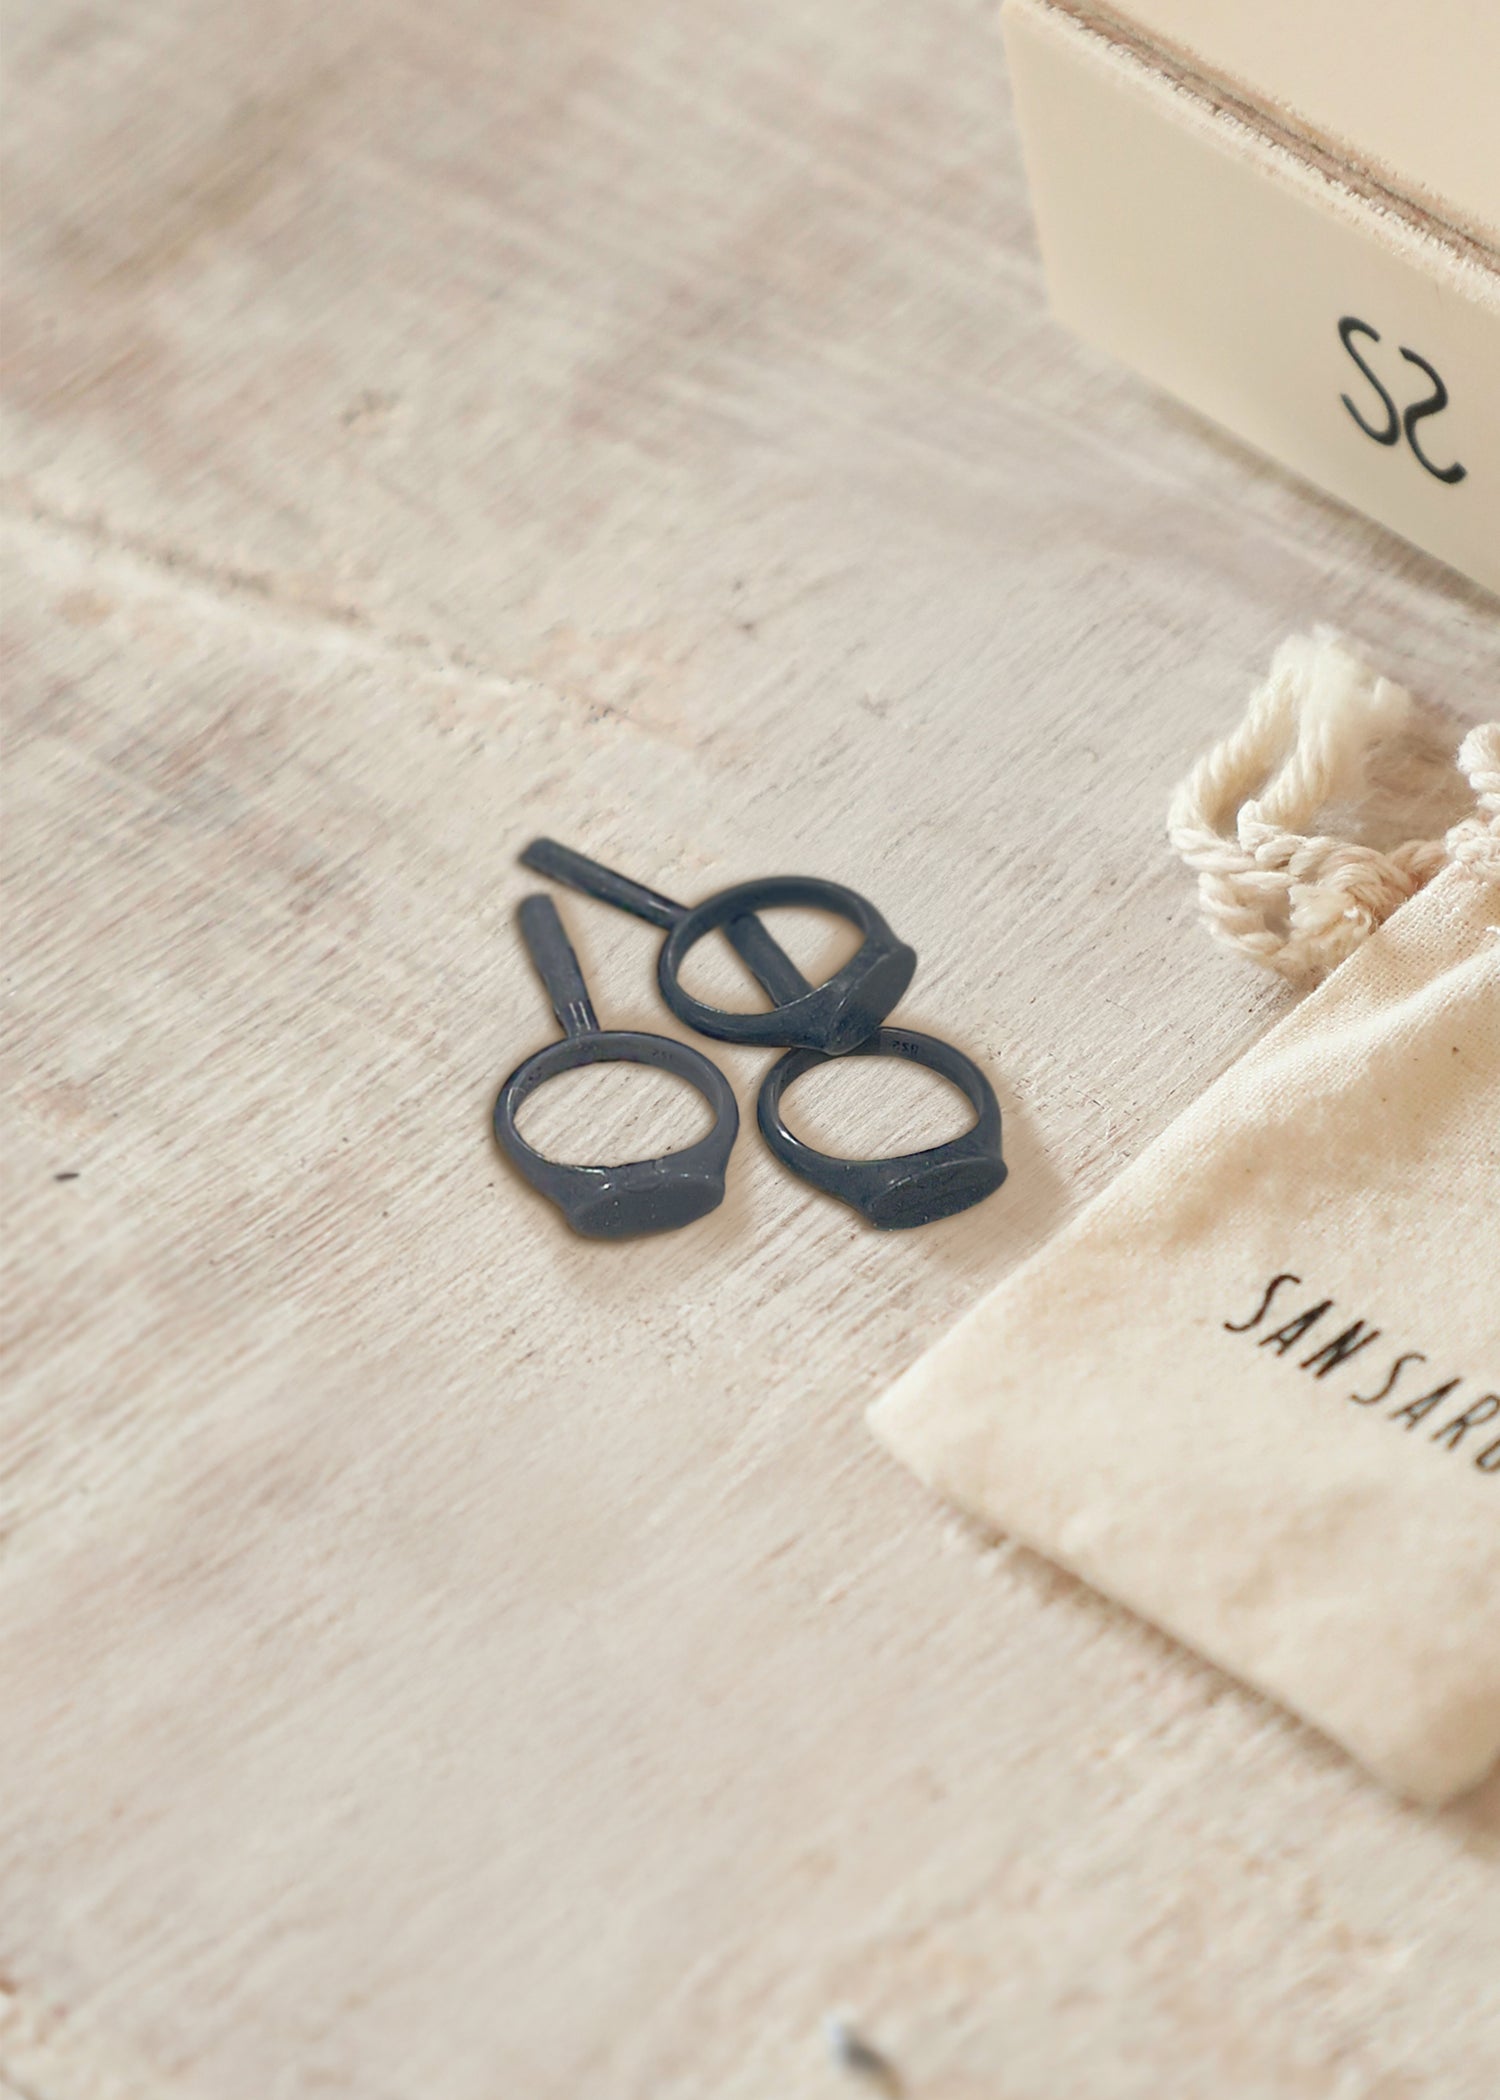
Pack Muhari print ring, which includes: One candle, flyer with QR code for instructions, two wax molds in the size you choose and two extra molds with other sizes up or down so you can be sure of your size.
You will see 4 wax molds when you open your print box.
VERY IMPORTANT: We will send you several molds so that you can practice with them and then use the one of your size to make the final one. Before you send us the wax, make sure it is the right size. You can only send us one piece of wax.

1. Mold preparation
The first thing we need to do is to create the silicone mold that we will use later on to make the mark on the wax to create this mold:
Measure the quantities
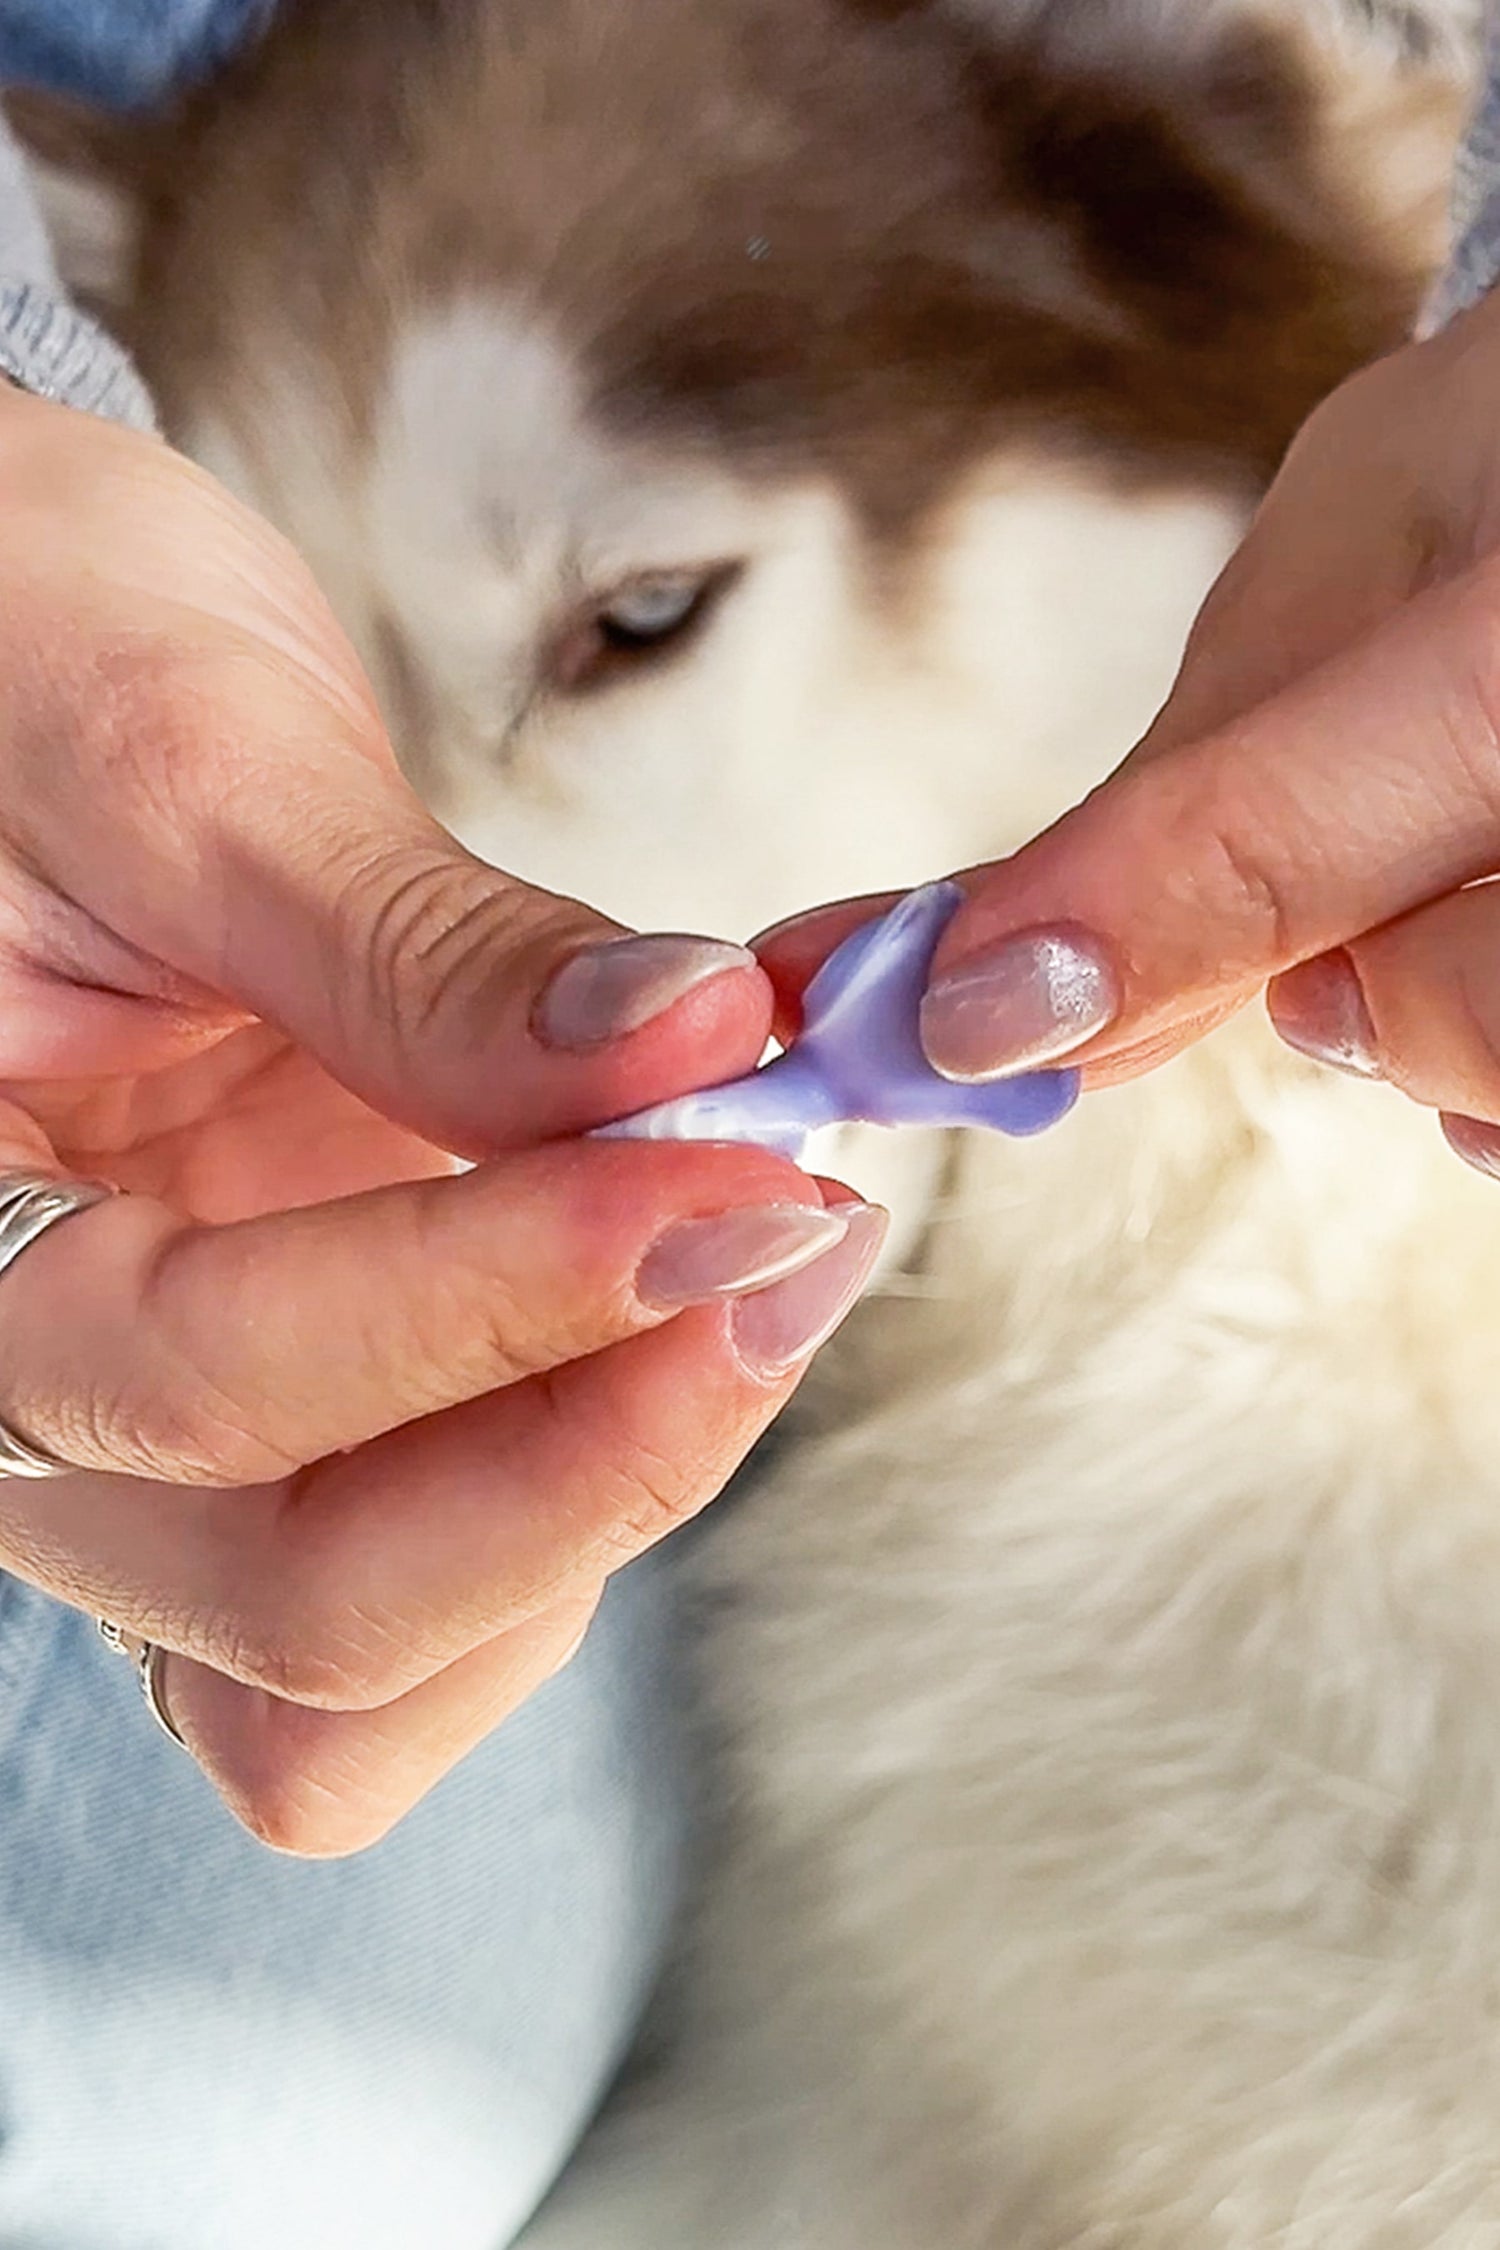
Take equal amounts of purple and white silicone (you don't need to weigh them, just do it by eye, but make sure the proportions are consistent. You don't have to use all the product, either, as you can make up to 3-4 shapes with it if you ration it well). Use different fingers or spoons to scoop up each color (it is important that the silicones do not mix inside the containers, as this will spoil the product).
Mix the silicones
Combine the two portions and mix until evenly colored. Shape the mixture into a ball and flatten slightly.
Create the mold
Use the lid of one of the jars as a base to mold the footprint, nose, or any area you want to copy (using the lid will give you a flat perimeter to work with). You will have approximately 60 seconds to engrave from the time you mix the silicones.
Let the mold harden
After engrave it, wait 20 minutes for the silicone to harden completely.

2. Checking the size
Before you start, try on the size very carefully to make sure it is correct. The wax mold is a delicate product, so handle it with care.
Once you are sure of your size, separate this wax form from the others. The other 3 are for practice. It is not very complicated, but it is better to do some tests first.

3. Engraving the print
Make sure the silicone is hardened
Make sure the silicone is completely set before applying it over the wax.
Light the candle
Light the candle in a safe place. Hold the wax mold by the stick so as not to burn yourself and bring it close to the fire to evenly heat the surface where you are going to engrave until you notice a change in texture (make it as flat as possible), do not bring the fire close to the stick as it is weak and may break.
If for some reason the stick breaks, don't worry. As long as the ring or plate is fine, no problem.
Engrave in the mold
After a quick count of three, remove the wax from the fire and press it against the area of the silicone mold where you want to engrave the part. Allow to cool for a few seconds and separate the wax from the silicone.
Repeating
If the engraving does not come out well, you can reuse the same wax. Just reheat it and apply a little more heat to repeat the process.
Keep in mind that only the part that touches the hot wax will be etched, so if the impression on the silicone is very large, only the contact area will be transferred.

4. Final mold and shipment
Once you have the final mold, remove the leftovers. Before closing the box, take 2 photos of the wax (one of each side) on a flat surface and with good lighting.
Store the final piece in the San Saru pouch and place it inside the box. Do not put anything else that could hit the mold.
When your package is ready, go to our returns portal and enter your order number and the email, postal code, or phone number you used when you made the purchase.
Follow the steps shown in the portal: select the print product you purchased, choose the option “Replace” and click Continue. For the reason, select “Fingerprint wax shipment”.
Next, add at least 2 photos (one for each side of the wax) and click Continue. Once the request is approved, you will receive the return label and the instructions to send the package by email.
When we receive the wax, our workshop will bring your jewel to life. The process takes approximately 3-4 weeks.All shipping costs are included in the price, so you don’t have to worry about anything.
Once it is ready, we will send you the finished jewel and you will receive an email with the shipping details so you can track it.
We’re here to help you every step of the way. If you have any questions, write to us at info@sansarushop.comor call us at 938 536 044.
STEP-BY-STEP PRINT RING VIDEO
STEP-BY-STEP PRINT NECKLACE AND BRACELET CREATION
If your idea is to engrave a delicate area on the jewelry, you must do it with the help of silicone, because you will be able to create molds of sensitive areas and engrave your designs in wax, turning them into unique jewelry.
Before creating your jewelry, read the instructions below. It is necessary that you know and have clear all the steps before you start.
To start with the process, you must have with you:
Pack Sensitive area silicone, which includes: Two silicone pots; one lilac and one white. Approximately enough to make 3-4 molds.
Print Pack which includes: A candle, a flyer with a QR code for instructions, and three wax molds so you can make more than one.
VERY IMPORTANT: We are going to send you multiple molds so you can practice with them. The wax molds are exactly the same; you can practice with two and then use one to make the final one, allowing you to engrave on both sides. Before you send us the wax, make sure it is the right mold. You can only send one wax.

1. Mold preparation
The first thing we need to do is to create the silicone mold that we will use later on to make the mark on the wax to create this mold:
Measure the quantities
Take equal amounts of purple and white silicone (you don't need to weigh them, just do it by eye, but make sure the proportions are consistent. You don't have to use all the product, either, as you can make up to 3-4 shapes with it if you ration it well). Use different fingers or spoons to scoop up each color (it is important that the silicones do not mix inside the containers, as this will spoil the product).
Mix the silicones
Combine the two portions and mix until evenly colored. Shape the mixture into a ball and flatten slightly.
Create the mold
Use the lid of one of the jars as a base to mold the footprint, nose, or any area you want to copy (using the lid will give you a flat perimeter to work with). You will have approximately 60 seconds to engrave from the time you mix the silicones.
Let the mold harden
After engrave it, wait 20 minutes for the silicone to harden completely.

2. Engraving the print
Make sure the silicone is hardened
Make sure the silicone is completely set before applying it over the wax.
Light the candle
Light the candle in a safe place. Hold the wax mold by the stick so as not to burn yourself and bring it close to the fire to evenly heat the surface where you are going to engrave until you notice a change in texture (make it as flat as possible), do not bring the fire close to the stick as it is weak and may break.
If for some reason the stick breaks, don't worry. As long as the ring or plate is fine, no problem.
Engrave in the mold
After a quick count of three, remove the wax from the fire and press it against the area of the silicone mold where you want to engrave the part. Allow to cool for a few seconds and separate the wax from the silicone.
Repeating
If the engraving does not come out well, you can reuse the same wax. Just reheat it and apply a little more heat to repeat the process.
Keep in mind that only the part that touches the hot wax will be etched, so if the impression on the silicone is very large, only the contact area will be transferred.

3. Final mold and shipment
Once you have the final mold, dispose of the leftover molds. Keep the final piece in the San Saru pouch and place it inside the box. Do not put anything else that could hit the mold.
When your package is ready, go to our returns portal and enter your order number and the email, postal code, or phone number you used when you made the purchase.
Follow the steps shown in the portal: select the print product you purchased, choose the option “Replace” and click Continue. For the reason, select “Fingerprint wax shipment”.
Next, add at least 2 photos (one for each side of the wax) and click Continue. Once the request is approved, you will receive the return label and the instructions to send the package by email.
When we receive the wax, our workshop will bring your jewel to life. The process takes approximately 3-4 weeks. All shipping costs are included in the price, so you don’t have to worry about anything.
Once it is ready, we will send you the finished jewel and you will receive an email with the shipping details so you can track it.
We’re here to help you every step of the way. If you have any questions, write to us at info@sansarushop.com or call us at 938 536 044.
STEP-BY-STEP VIDEO PRINT NECKLACE AND BRACELET
FAQS
-
Is it possible to engrave 2 prints on the same piece of jewelry?
Yes, it is possible to engrave one print on the front and one on the back of the piece in the case of the necklace and bracelet, but we recommend making both prints on the same side for better results.
-
I want two pieces of jewelry with two different prints, how many PACKS should I get?
If you want to make two pieces of jewelry, one for you and one for that special someone, you should add two PACKS to your cart to make sure you have enough wax to do the engraving correctly.
-
Can animal prints be engraved?
Yes, the advantage of this silicone is that it is possible to print an animal's nose without fear of injury, thanks to the cold engraving process.
-
Can my baby's prints be engraved?
Yes, the advantage of using this silicone is that you can cold engrave without having to worry about hurting your baby.
-
How long does the process take?
The shipping time of the pack is 24 to 48 working hours. Once you have taken the print of your pieces and returned it to us, you will receive the jewelry within 3-4weeks.
-
How should I return the pack?
Once you have the final wax mold, remove any excess and take 2 photos (one of each side) on a smooth surface with good lighting.
Place the piece in the San Saru pouch and into the box, without adding anything that could damage it.
In our returns portal, enter your order number and email/postcode/phone, select your fingerprint product, choose “Replace”, click Continue, then select “Fingerprint wax shipment” and upload the 2 photos.
Once approved, you’ll receive the return label and instructions by email.
If your order is from the Canary Islands, the label is already included in the package (no need to do anything online); prepare the package, attach the label and drop it off at your nearest Correos point.
All shipping costs are included. Once we receive the wax, our workshop will create your jewel within 3-4 weeks. When it’s ready, we’ll send it to you and you’ll receive an email with the tracking details.
-
Can I buy it from the physical store?
Yes, you can buy the pack directly in our physical stores.
Once you have created the mold, you have to return the pack to the store where you bought it.
We will send it to our workshop to create your jewelry and once we have it, we will let you know so that you can come to our store to pick it up. -
Can I make an exchange or return?
No, personalized jewelry cannot be returned or exchanged, remember that the jewelry is unique and especially for you.


